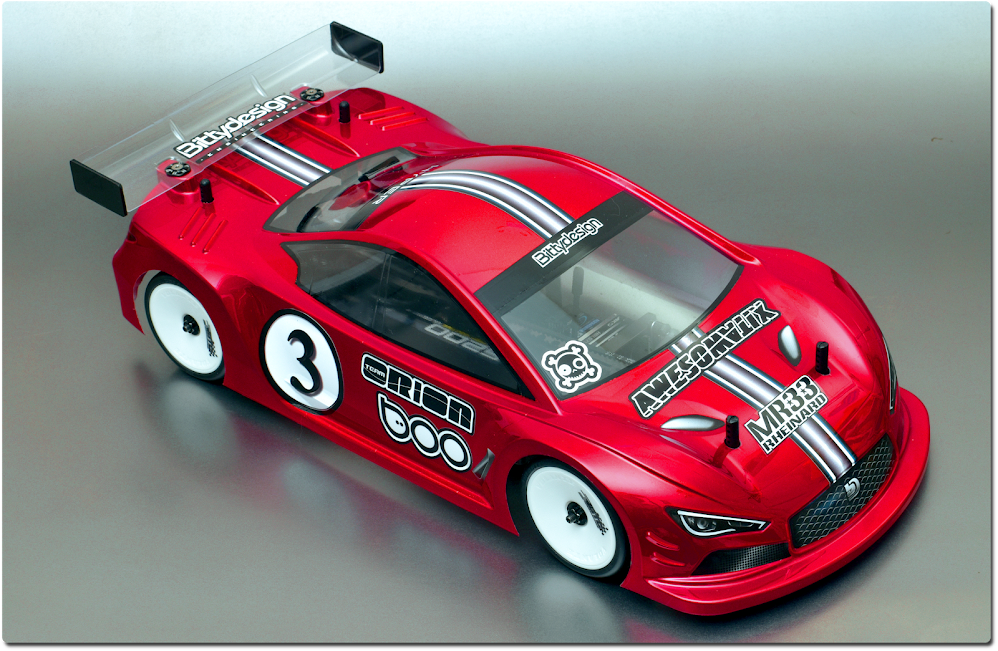
Chassis is now complete. Inspecting through every single part during this rebuilt I was again very impressed by the very low wear. Car went through an entire season, arms, camber links, transmission, motor mount, battery holder etc and for the most part they all still look like new. Excellent quality.
Now what electronics should accompany such great looking kit?..
Tuesday 28 January 2014
Aluminum Chassis built part2
Next step is the installation of the lower arms followed by the shock dampers, anti-roll bars and finally the assembly of the transmission and the innovative FFG system.
The FFG installation was quite a challenge as I found the front gearbox persistently binding but it was very hard to locate the area causing the problem. In the end, after several trial & error attempts, I finally located the area causing the bind. It was between two parts, AM43 bulkheads and AM42 upper link holders which were squeezing thie AM44 FFG housing. I used two ultra thin shims between AM43 and AM42 and the problem was solved.
The FFG installation was quite a challenge as I found the front gearbox persistently binding but it was very hard to locate the area causing the problem. In the end, after several trial & error attempts, I finally located the area causing the bind. It was between two parts, AM43 bulkheads and AM42 upper link holders which were squeezing thie AM44 FFG housing. I used two ultra thin shims between AM43 and AM42 and the problem was solved.
Sunday 26 January 2014
Aluminum Chassis built part1
First step I did was to install a chassis protection sheet under the surface in order to protect since I will be also running it on asphalt. It was a very loooong process to cut the sheet around all the details of the chassis.
The result is OK but not very neat. At least it sits perfectly flat so it should not affect me when I am adjusting tweak.
First photo is of the preparation I did before I secured the main chassis stiffener. Oleg advised to scratch the surface of contact between chassis and stiffener in order to prevent any movement in case of a hard hit.
Second step was to install the stiffener. This is the long option which runs from the front all the way to the back. It also means that the servo holder's position is pushed to the outside as the central option is now covered by the stiffener.
Final stage for now is the installation of the battery holder and the servo floating holder. During installation one must pay close attention to the suitable length of the chosen screws as the much thinner chassis requires shorter screws. If longer than required screws are used you will damage the servo floating holder.
The result is OK but not very neat. At least it sits perfectly flat so it should not affect me when I am adjusting tweak.
First photo is of the preparation I did before I secured the main chassis stiffener. Oleg advised to scratch the surface of contact between chassis and stiffener in order to prevent any movement in case of a hard hit.
Second step was to install the stiffener. This is the long option which runs from the front all the way to the back. It also means that the servo holder's position is pushed to the outside as the central option is now covered by the stiffener.
Friday 24 January 2014
Aluminum Chassis
AWESOMATIX introduced a new aluminum chassis which has been used with great success in recent races both by team drivers as well as local racers.
Some photos and as soon as I have a bit more time I will provide more info and a complete built kit.
The top of the chassis (C01AL)
The underside of the chassis
The optional long stiffener (AM33)
Some photos and as soon as I have a bit more time I will provide more info and a complete built kit.
The top of the chassis (C01AL)
The underside of the chassis
The optional long stiffener (AM33)
Thursday 23 January 2014
another blog
searching for Awesomatix related posts, I came across this photo blog which I though it would be nice to share as it has some nice pictures and well built cars:
JCReyesJCRACING/posts
JCReyesJCRACING/posts
Tuesday 21 January 2014
Advanced Electronics "Black Diamond BD" for sale
I am selling my Advanced Electronics Speed control.
Details here: ADVANCED ELECTRONICS 'BD' FOR SALE
Anyone interested drop me an email at johndoucakis@hotmail.com
Details here: ADVANCED ELECTRONICS 'BD' FOR SALE
Anyone interested drop me an email at johndoucakis@hotmail.com
Subscribe to:
Posts (Atom)


